Video Transcript
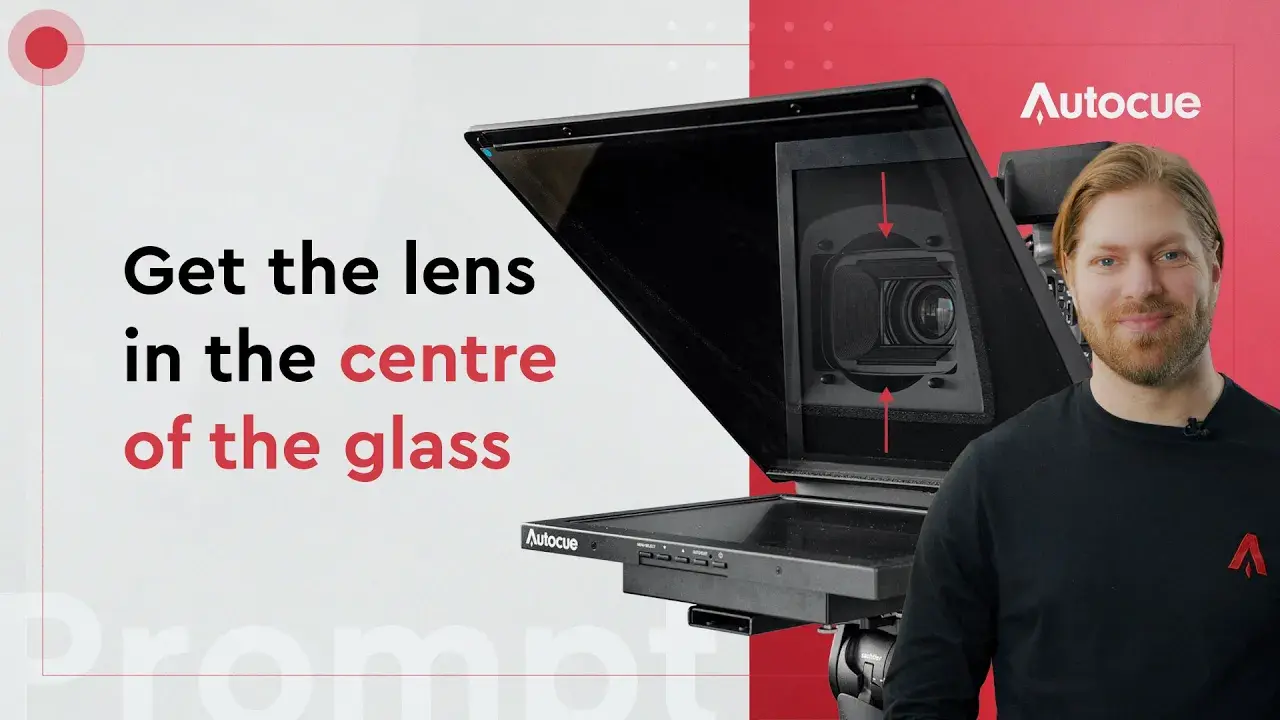
When you set up a teleprompter for video production, make sure the camera lens is in the middle of the beamsplitter glass. You’ll have full field of view, and your presenter will look right at the camera. I’m Matt, and today I’ll show you how to centre the lens on Autocue Explorer and Pioneer teleprompters. Are you ready? Let’s get started!
Measurement
To correctly position your lens, we need to do some measuring. With your camera on a flat surface, measure the height from its base to the centre of the lens. Write the measurement in millimetres. Mine is XXmm. The measurements are important, so take your time.
Setting the bracket
Your prompter has a camera carriage rail with a bracket at the end. The bracket has a scale marked from 50 to 140, representing the height of the lens in millimetres. Loosen the locking handle under the rail and move the bracket until the white arrow points to your measurement. In my case, it’s XXmm. Then, tighten the handle to lock it in place.
Result
With the height measured and the bracket set, assembling your prompter is easy. The hood will be in the correct position. Slide the camera carriage forward until the lens is as close as possible to the glass, and you’re ready to prompt!
Proper lens positioning is important when you’re building a prompter, but if you take the time to measure before you start it’s easy to set your Autocue for success. If you’re still unsure how to rig your Explorer or Pioneer prompter, watch our setup videos to get even more prepared for your next prompting shoot.
Thanks for watching.
Until next time. Stay on cue.