Video Transcript
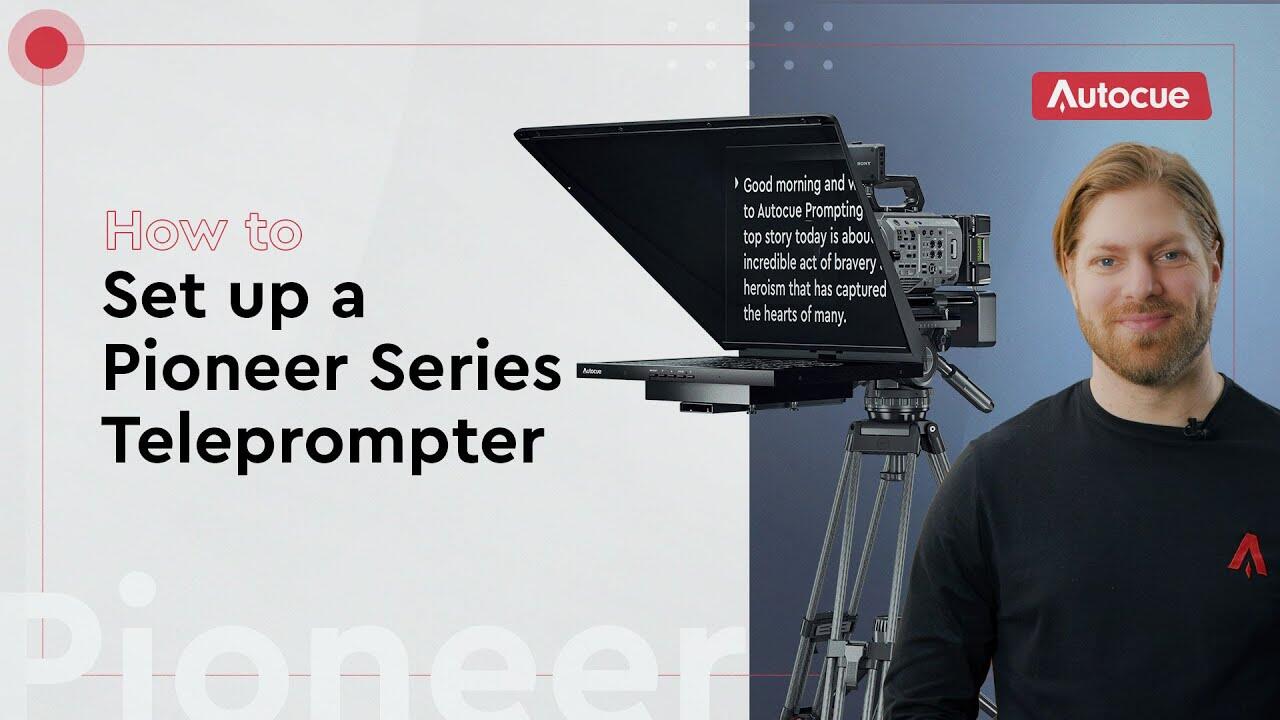
It’s important the setup your new Autocue teleprompter correctly, so it works as intended. I’m Matt and in this video, I’ll show you how to do just that with a few pro tips along the way. Be sure to watch to the end to get all the info you need! Ready? Cue titles!
Support
First, make sure the tripod can support the weight of your Autocue teleprompter and camera package. Add up the weight of everything in your camera setup, including the counterweights for your teleprompter – and check the weight against the maximum payload of your camera support system.
Components
Now, let’s build out the components. First, we’ll attach the spine to the monitor. This is simply a matter of screwing it onto the bottom of the monitor and once fitted can be left on in the future. Next, attach the rods to the carriage. There are two locking screws on either side. Make sure they’re loose enough for the rods to slide in, and then tighten them up.
Hood Height
Before starting the assembly, you can help your future self by setting the height of the prompter hood. Take your camera package and measure the height to the centre of the lens in millimetres. Loosen the locking handle underneath the rail and move the bracket until the white arrow points to the matching measurement on the scale. Lock that position in and look forward to your lens being in the centre of the glass later.
Mounting
Now we can mount parts onto the tripod. Mount the rail to the camera plate and attach it to the head. To balance the teleprompter, position the camera plate as close to the front bracket as the head allows. Mount the monitor to the rail, rotating it onto the lower two shoulder pins to support the weight of the monitor while the captive screws are tightened.
Insert the glass into the hood, making sure to fit it bottom first with the blue dot facing outward, towards the presenter. Slide the top catch across to lock the glass into the hood.
Next, mount the hood to the rail using the top two shoulder pins to support its weight. This will make it easier and safer to clamp the hood in place with the captive screws, so it won’t be left lying around.
Fix your camera to the carriage and slide it onto the rail. Listen for the click of the pin at the end of the rail to ensure that the carriage is secure. Since we set the height earlier, the camera lens should be cantered in the hood. Move the carriage forward so that the lens is as close to the glass as possible. Once you’re happy with the positioning, lock the carriage into place using the locking lever on the right-hand side.
Counterbalance
To balance your camera setup, you might need to add counterweights to the back of the teleprompter. Slide the counterweight onto the rods on each side of the carriage and
position it evenly over the fluid head. Push the counterweight onto the rods until it locks into position with the locking lever. There will be some resistance when sliding the counterweight onto the rods because of the internal grip to stop it sliding off onto your foot.
Finally, attach the power and data cables to the side of the monitor. And that’s it! Your Autocue teleprompter package is now fully assembled and ready to use.
Thanks for watching.
Until next time. Stay on cue.