Video Transcript
Once you are confident with the basics of Autocue software, there are many extra functions you can explore. Hi, I’m Matt and in this video, we’ll discover Scrapbooks and Cloaks as we explore the right-click menu in the story editor. Ready? Cue titles!
1. Getting started
By now, you know how to create, prompt, and edit a script in Autocue Explorer. If you still need some help, go back, and watch our ‘getting started’ and ‘editing’ videos before you continue. You’ll find links in the description below. Let’s open up a script I made earlier, and we can see what you some can do when you right click in the story editor pane.
2. Scrapbook
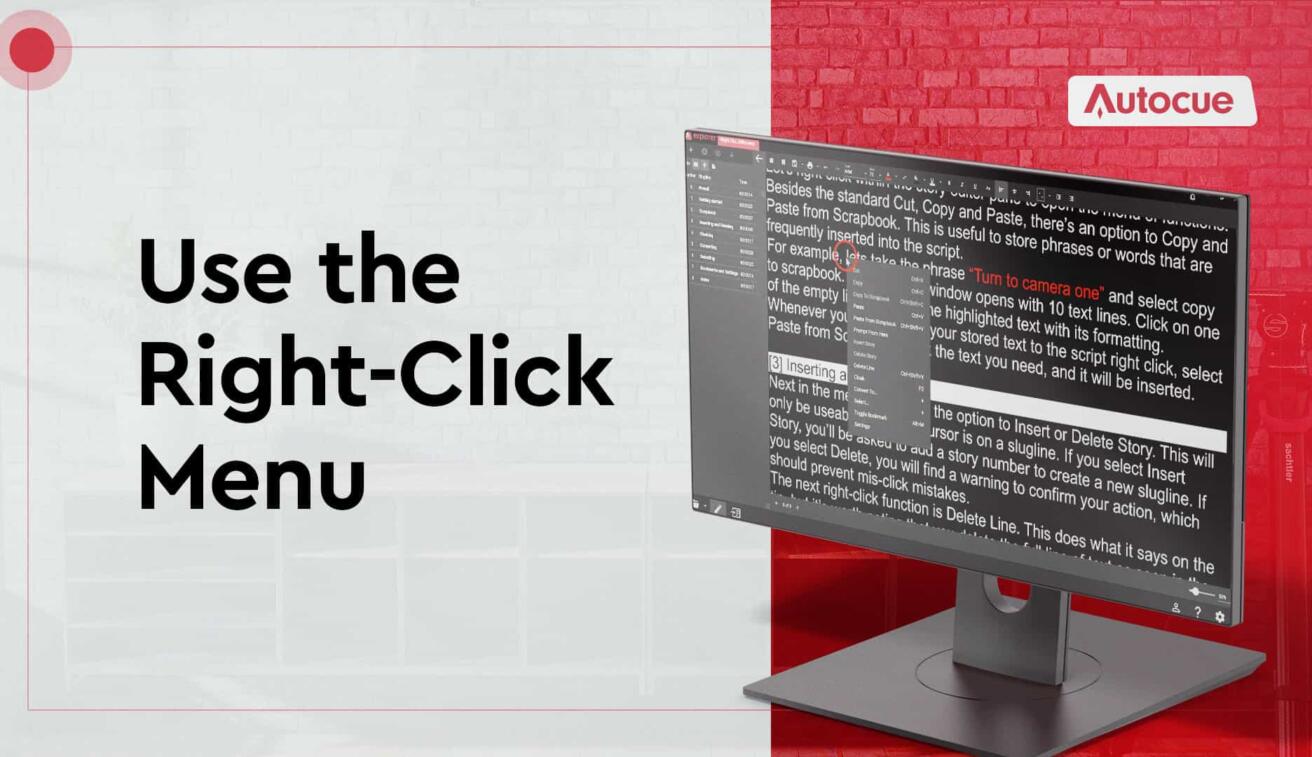
Let’s right click within the story editor pane to open the menu of functions. Besides the standard Cut, Copy and Paste, there’s an option to Copy and Paste from Scrapbook. This is useful to store phrases or words that are frequently inserted into the script. For example, lets take the phrase “Turn to camera one” and select copy to scrapbook. A scrapbook window opens with 10 text lines. Click on one of the empty lines to store the highlighted text with its formatting. Whenever you need to add your stored text to the script right click, select Paste from Scrapbook, click the text you need, and it will be inserted.
3. Inserting and Deleting
Next in the menu, you’ll see the option to Insert or Delete Story. This will only be useable when the cursor is on a slugline. If you select Insert Story, you’ll be asked to add a story number to create a new slugline. If you select Delete, you will find a warning to confirm your action, which should prevent mis-click mistakes.
The next right-click function is Delete Line. This does what it says on the tin, but it’s worth noting that you delete the full line of text as seen in the editor pane, which may be different to the line on the prompt output. Because this is a quick action to speed up operation, there isn’t a warning, so if you make a mistake, use the undo button in the main toolbar.
4. Cloaking
If you want to hide a section of story text from the presenter, highlight it, right click and then select Cloak. The text will highlight in the story editor and be removed from the prompt output. If you want it back, you can right click on the highlighted text and select Uncloak.
5. Converting
The right-click menu also gives you the option to convert text. If you’re in the main body of the script, you will see ‘Convert To Slugline’ available. Or, if your cursor is on a slugline you’ll see ‘Convert To Story Text’ as the option. A warning appears if you select to convert a Slugline to Story Text. Remember when you do this you’ll lose a story in the run order as well as add your story title into the script, so double check that you’re sure first.
6. Selecting
The Select function makes it easy to highlight groups of text for formatting. Perhaps you want to increase the font size on a story for a different presenter, or quickly change the background of your Sluglines. The select function is a quick way to highlight larger groups of text. Choose to select a Story, Sluglines, or the whole script without Sluglines and make your edits pronto.
7. Bookmarks and Settings
We look at the final two menu options in other videos. You should be familiar with toggling bookmarks from the ‘Editing with Autocue software’ video, and Settings are covered in the ‘Customise your Settings’ video. Links to the videos are in the description below.
By understanding the right-click menu options in the story editor, you’ve taken your prompting knowledge to the next level, and we don’t want it to stop there. Check out our other videos to learn more about shortcuts, settings and much more.
Thanks for watching. Until next time. Stay on cue.