Video Transcript
Every teleprompter uses software to supply the script for the monitor. Even if you’re new to prompting, Autocue software is simple to operate. I’m Matt and in this video, I’ll show how to get started get you prompting in no time with Autocue Explorer software. Ready? Cue titles!
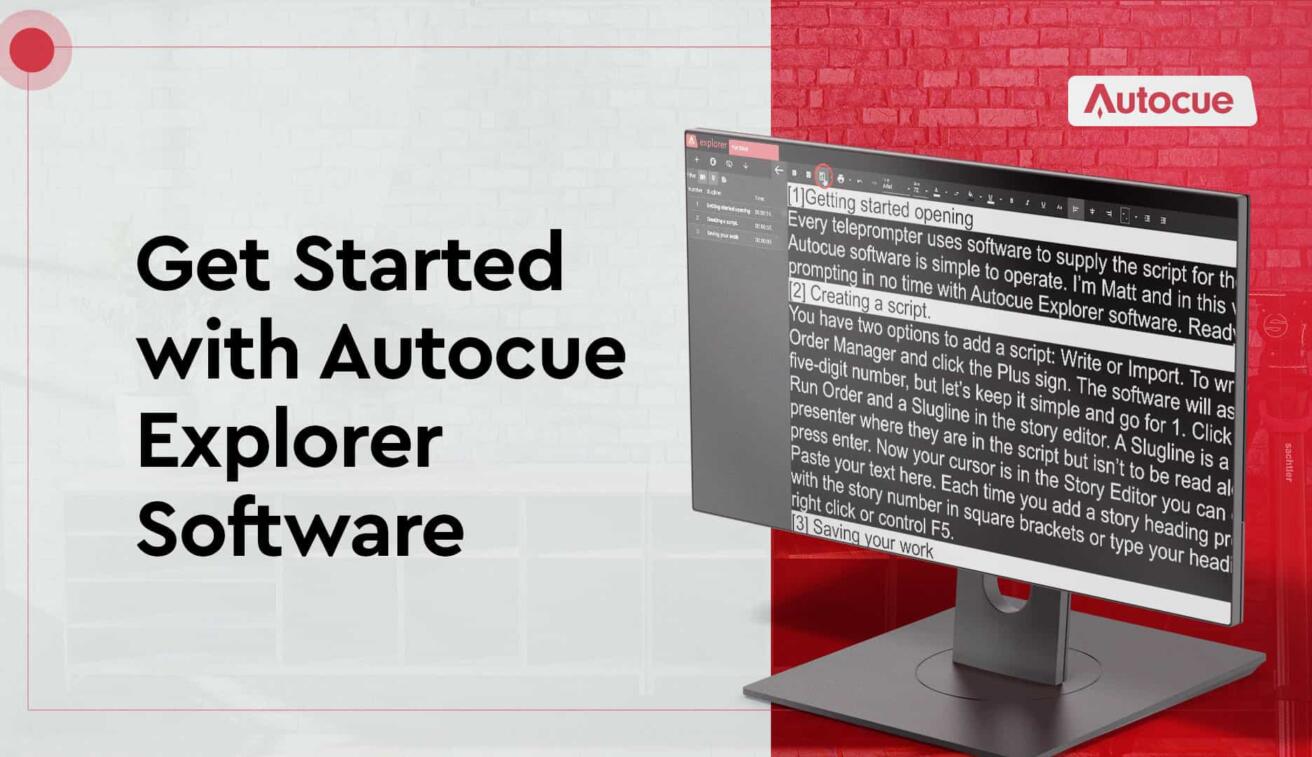
1. Getting started
Download Autocue Explorer and find the red Autocue ‘A’ icon on your desktop. Double click to start your prompting journey. You will see four main areas. Top left is the Run Order Manager. Bottom left the Key Action icons. The large black area and toolbar above is the Story Editor. Finally, bottom right, are your Account Settings.
2. Log in
If you haven’t logged in, head over to Account Settings. Click the torso icon and enter your registration details from autocue.com. If you’re online, the software will automatically update with your license.
3. Creating a script
You have two options to add a script: Write or Import. To write your script in the software, go to the Run Order Manager and click the Plus sign. The software will ask you to number the story. You can choose a five-digit number, but let’s keep it simple and go for 1. Click the red tick and you’ll find a story listed in the Run Order and a Slugline in the story editor. A Slugline is a highlighted story title that shows the presenter where they are in the script but isn’t to be read aloud. Type a friendly description here, then press enter. Now your cursor is in the Story Editor you can create your script. You can Type or Copy-Paste your text here. Each time you add a story heading press enter to start a new line and then begin with the story number in square brackets or type your heading. Highlight, and convert to Slugline using right click or control F5. To save your work click the disc icon in the editor toolbar. The script name will show in the red tab next to the software name.
4. Importing a script
If you already have a script, you can import it to save time. Autocue Explorer will import Word, Text and PDF documents. Hit the Open Action icon at the bottom left, find your script and double click. The script will load in the story editor and automatically create a slugline story heading. You can add extra Sluglines to the story editor manually, or format your document before importing, by adding your headings with a number in square brackets for a ready-to-go Run Order.
5. Prompt
Once your script is in the Story Editor, you can prompt. Click the Prompt Action icon at the bottom left to switch to the Prompt Output window. You’re now seeing the display on any connected teleprompter. If you have a Scroll Control connected, you can use that to move the script. If not, use the Virtual Scroll Control Panel. Move the scroll circle above the centre line to prompt forwards, and below scroll backwards. If you need to go back to editing, click the Edit Action icon at the bottom, but don’t forget this will stop the prompt output on your teleprompter.
There’s lots more you can do in Autocue Explore software but now you know the basics, have a go yourself. Then come back for more tips to take your operating skills to the next level.
Until next time. Stay on cue.