Visual Transcript
Intro
Do you want to streamline your teleprompting process? You’re in the right place. Hi, I’m Matt and in this video, I’ll show you how to customise your Autocue Explorer software settings to control your teleprompter like a pro. Ready? Cue titles!
Text Panel
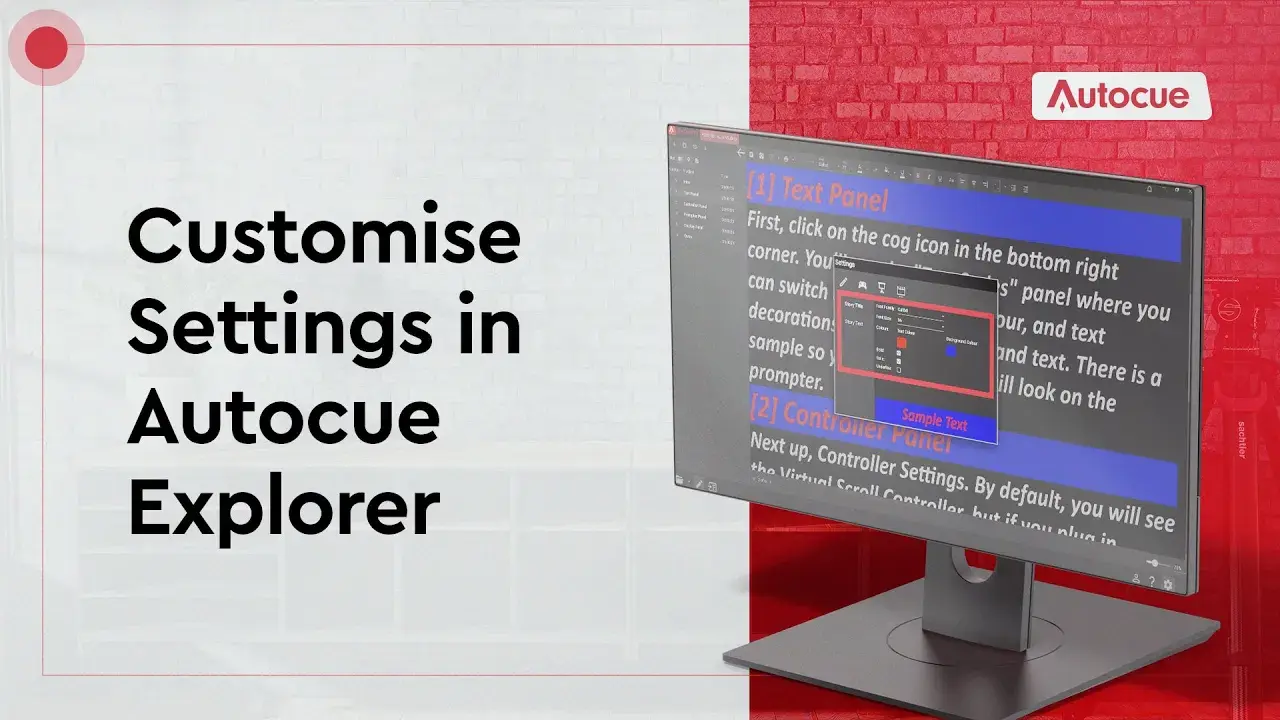
First, click on the cog icon in the bottom right corner. You’ll see the “Text Styles” panel where you can switch up the font, size, colour, and text decorations for your story title and text. There is a sample so you can see how it will look on the prompter.
Controller Panel
Next up, Controller Settings. By default, you will see the Virtual Scroll Controller, but if you plug in something like the Shuttle Xpress, you’ll see that too. Keep an eye on the status indicator to know if it’s online (green dot) or offline (grey). You can enable or disable the device with the power cord icon and adjust the settings for each with the cog icon.
In Virtual Controller settings, you can adjust the mouse wheel gain (how much the scroll speeds up with each step of the mouse wheel), reverse the mouse wheel direction, and you can see the keyboard shortcuts for various functions. You can also change the ‘Sensitivity’, that’s how far the mouse wheel rolls to reach maximum speed, the ‘Deadband’, that’s the area where your controller can be left at before the text starts to scroll. (Operators who work at a quick pace, like to increase the Deadband so that they can stop the scroll more easily) and maximum speed of the prompter.
If you’re using the ShuttleXpress, you can change what each button does. Just click on the button you want to change and select a new function from the drop-down list. You can also change the sensitivity and maximum speed in Profile Settings.
Prompter Panel
Next, we’ve got the prompters panel where you can add a local prompter, an NDI output, or an iPad as a prompt display. For the local prompter, you can give it a name, change the display screen, and adjust the scale. With an NDI prompter, you can change the name, and change the resolution and frame rate. For the iPad prompter, just enter the IP address to add it as a display.
Display Panel
Finally, the Prompter Layout Panel. Here, you can adjust the line spacing, margins, cue marker (show/hide, shape, colour, offset), and even add a clock (perfect for live shows).
Outro
So, that’s it! Everything you need to know to customise your prompter and make it work for you. Thanks for watching. Until next time. Stay on cue.